All Leathercraft Library patterns and projects are property of Tandy Leather. Projects and patterns available are a part of the Tandy Leather Archive and may contain outdated product information or service offerings. Projects and patterns can be reproduced for personal use by printing, but Tandy Leather cannot guarantee the quality of reproduction or printing due to the image quality available. Some project and pattern themes or motifs may not be representative of Tandy Leather’s current views.

Featured Maker: Elia De Leòn

I’m Elia De Leòn, designer and leather smith. I come from generations of dressmakers, which inspired me to pursue a degree in fashion design. After a few years of studying the trade, I debuted my first collection in NYFW. When I realized that accessories were my strong point, I shifted my focus to leather goods.
Nowadays, you can find me in my Dallas studio, which doubles as a storefront. At Elia De Leòn Vintage & Handmade, you can expect to see all of our leather creations, original designs, repurposed clothing, and cool vintage.
Follow Elia on social media @by_eliadeleon!
Shop Elia's Top 5 Tandy Picks:
1. Leather Marking Pen 2097-00
2. Tanner's Bond Permanent Adhesive Tape 2535-01
3. Hardware
5. Craftool® Strap Cutter 3080-00
. . . . .

This project is perfect for Craft Cuts or Remnants!

Modify your Leathercraft Library pattern by adding 1" all the way around. Add notches in both bottom corners to add depth.

Trace your pattern with a leather marking pen.

Cut out your leather using a rotary cutter and leather scissors.

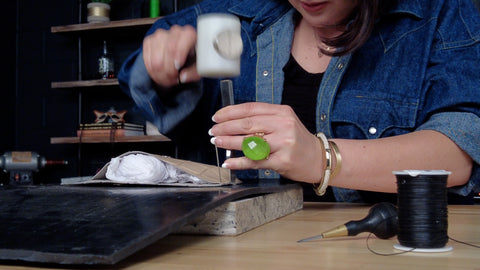
Using a 1/8" drive punch, punch holes for magnetic rivets.

Install magnetic rivets.

Using Tanner's Bond® Tape, secure both pattern pieces together.

Mark rivet holes 1/8" from the top, 1/8" from the edge, and 1/2" apart OR mark your stitch line if you choose to hand sew this project.


Using a 1/8" drive punch, punch holes for rivets OR mark sewing holes with a pricking iron if you would prefer to hand sew this project.


Use a rivet setter to set your rivets OR take this time to hand sew your project.


That's it - you have a finished glasses case!


